Panasonic WhisperFit DC
FV-0511VF1
No Integrated Light
Choose this version when you only need the exhaust fan.
See Fan Without Light →Best if you already have separate bathroom lighting.
Before You Buy
The Panasonic WhisperFit is one of the better bathroom fans I’ve used for replacement work, but whether it’s a good DIY project depends on what is already hiding above your ceiling.
This quick check will help you identify the conditions that make the installation straightforward — and the ones that can turn a simple fan replacement into a much bigger project.
Takes about 60 seconds. No email required.
60-second assessment
Answer these questions based on what you know. If you aren't sure about something, choose “Not Sure.” The goal isn't to guarantee the installation will be easy — it's to identify potential problems before you buy the fan or start cutting drywall.
Question 1 of 8
Two established options
I focus on two primary WhisperFit versions. Choose based on whether the ceiling assembly also needs to provide bathroom lighting.
Use the fit check above before choosing between the two established models.
Panasonic WhisperFit DC
No Integrated Light
Choose this version when you only need the exhaust fan.
See Fan Without Light →Best if you already have separate bathroom lighting.
Panasonic WhisperFit DC
Light + Nightlight
Choose this version when the ceiling assembly also needs integrated lighting.
See Fan With Light →Model featured in the full installation walkthrough.
Before deciding what you can tackle, use my unboxing to check the parts and preparation questions.
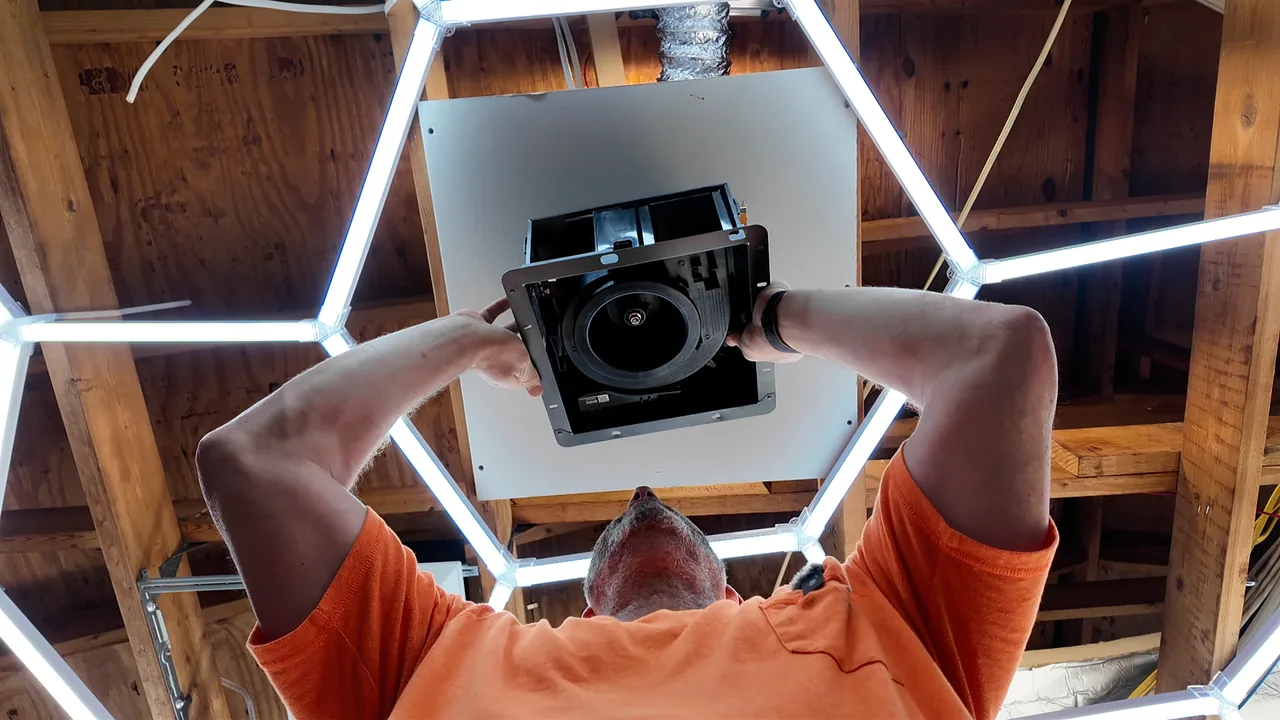
Many traditional bathroom fans are built around a single housing that must be maneuvered into the ceiling. The Panasonic WhisperFit retrofit sequence is different. The Flex-Z Fast Bracket creates the supporting structure first. The duct and electrical assembly can then be positioned and secured, and the motor housing slides into that assembly afterward.
That component-by-component sequence is what makes a Panasonic WhisperFit installation from below possible in the right retrofit conditions. It does not mean every fan replacement can be completed without attic access. The existing duct, wiring, framing, and ceiling opening still decide whether room-side access is enough.
The Flex-Z bracket explainer walks through the support and assembly relationships before the installation steps.
I've installed a number of Panasonic exhaust fans, and the part that causes the most confusion isn't usually the wiring or duct connection. It's understanding what the Flex-Z Fast Bracket is actually doing.
The bracket folds so it can pass through the ceiling opening, then expands between the framing. Its tabs, screws, and long mounting slots establish the support and alignment for the parts that follow. The bracket is not necessarily difficult, but Panasonic's instructions do not make its purpose immediately intuitive. Once you understand how it positions itself and interacts with the joists, the rest of the installation makes much more sense.
See How the Flex-Z Bracket Works →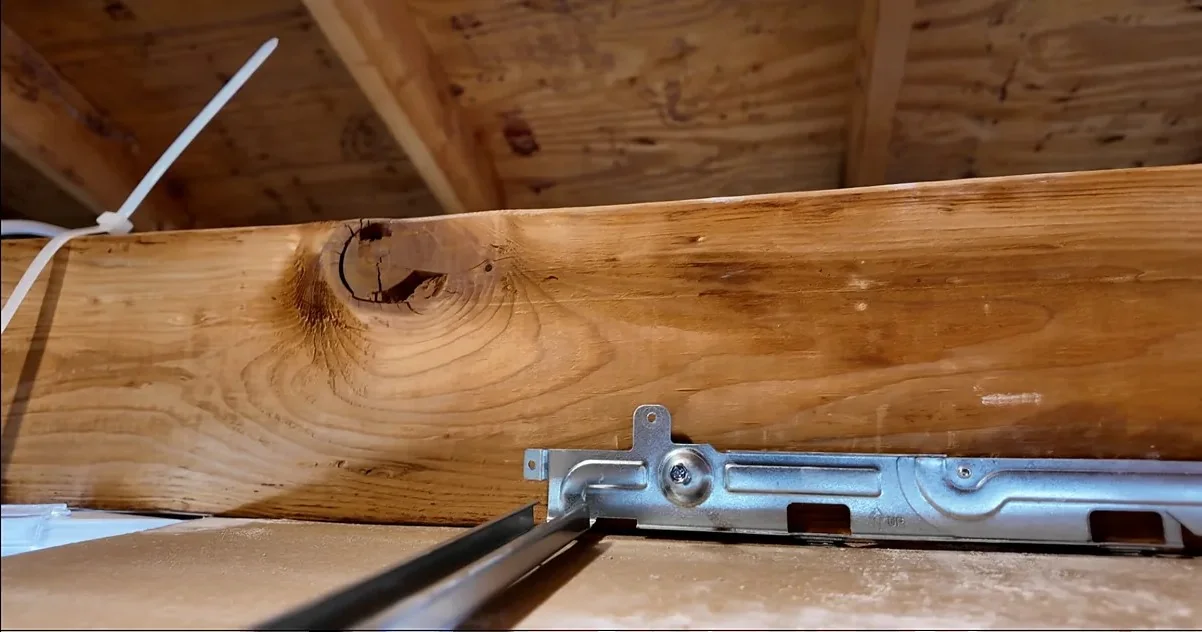
A high-quality replacement fan can still deliver disappointing airflow when the duct is undersized, crushed, excessively long, disconnected, full of unnecessary bends, poorly terminated, or restricted by the exterior vent. A 3-inch duct may be especially restrictive, although the complete route matters more than diameter alone.
Before assuming an old fan is the only problem, inspect the duct size, route, fittings, damper, and exterior termination. The complete bathroom exhaust fan ducting guide shows what to inspect, while the airflow troubleshooting guide helps diagnose a system that still performs poorly.
Sometimes no. One of the biggest advantages of the WhisperFit retrofit system is that the bracket, duct/electrical assembly, and motor housing can be installed from the room side in suitable installations.
Attic access may still be useful or necessary if the duct needs replacement, has become disconnected, or cannot be reached through the opening. It may also be needed when the exterior termination requires work, wiring needs significant modification, framing interferes with the bracket, or the old installation hides damage. Review the complete room-side WhisperFit installation before deciding that your project can be handled entirely from below.
I would bring in qualified help when there is no existing fan or duct system, when a new roof or wall penetration is required, or when the existing duct terminates in the attic. Significant electrical changes, unexpected framing, extensive drywall modification, and wiring that cannot be identified safely can also move the job beyond a straightforward DIY replacement.
You may also be comfortable with the mechanical installation but not the electrical portion. That is a reasonable dividing line. A complicated installation doesn't mean the Panasonic is the wrong fan. It may simply mean the installation is no longer a simple fan swap. The guide to choosing the right bathroom-fan professional can help you decide whom to call.
If the fan is already sitting in the box, don't start cutting yet. The most useful thing you can do first is understand the installation sequence — especially the Flex-Z Fast Bracket.
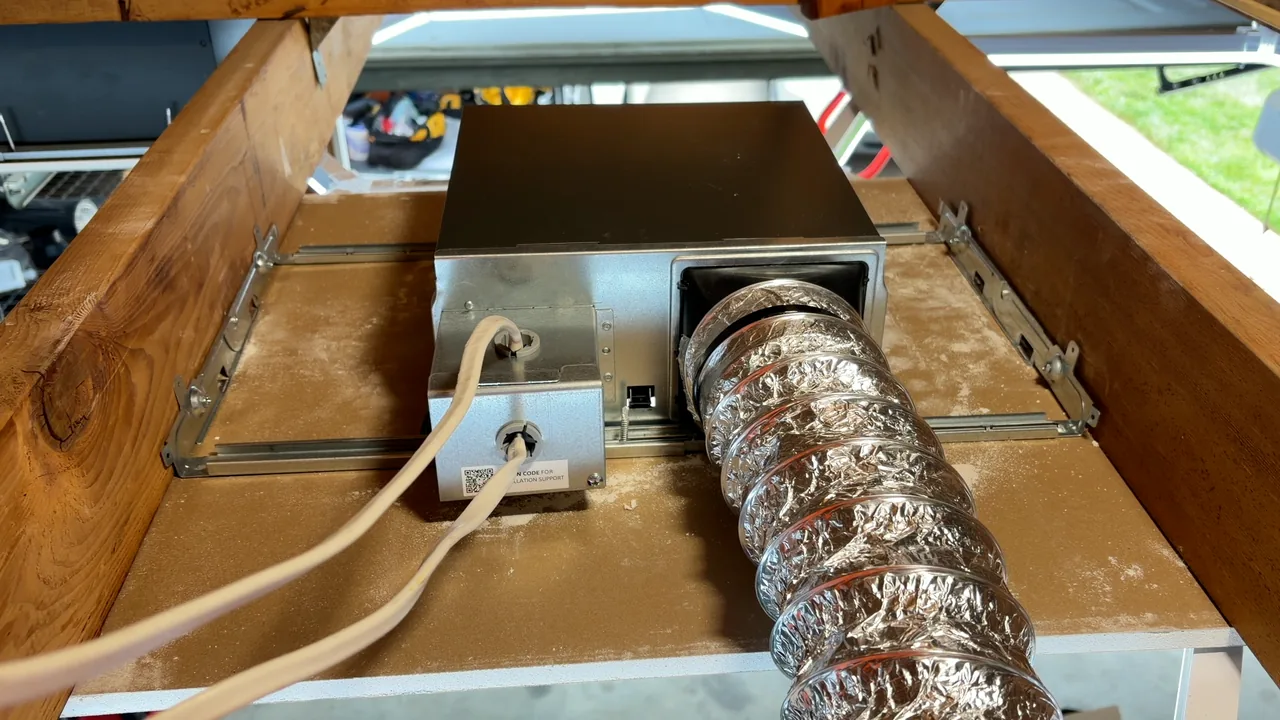
See the ceiling opening, bracket, duct and electrical assembly, motor housing, airflow selector, and grille installed in sequence.
Watch Installation →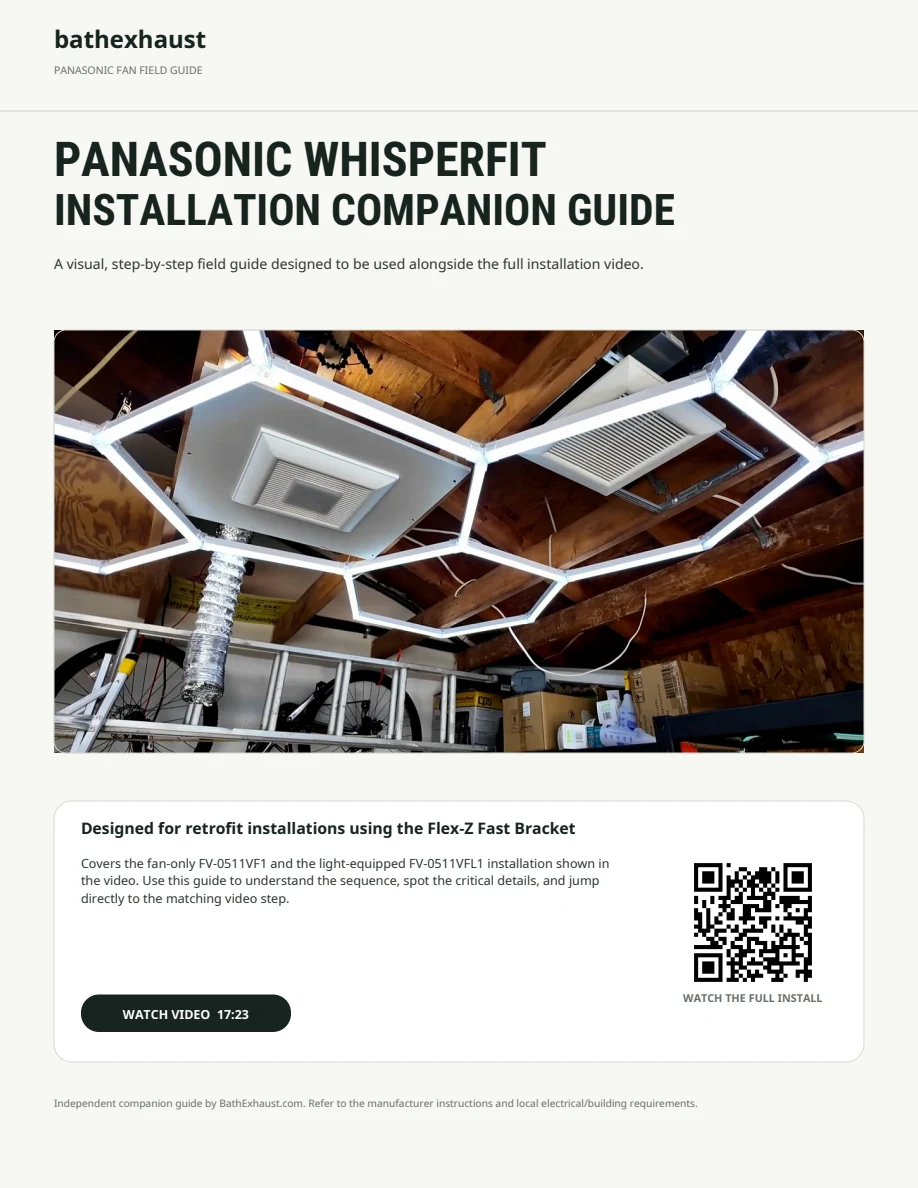
Keep the 14-page visual companion open while you work or watch the full installation video.
Download the Free Guide →Sometimes. In suitable retrofit conditions, the bracket, duct/electrical assembly, and motor housing can be installed from the bathroom side. Attic access may still be needed for duct, wiring, framing, or termination problems.
The fan and retrofit system are well designed, but the Flex-Z Fast Bracket has a learning curve. Difficulty also depends on the existing duct, wiring, framing, and ceiling opening.
A capable homeowner may be able to complete a room-side replacement when the existing duct, wiring, framing, and ceiling opening are suitable. Electrical or exterior-termination work may require a qualified professional.
It is the support bracket used by the WhisperFit retrofit system. It folds through the ceiling opening, expands between framing members, and supports the assemblies installed afterward.
Possibly, after checking the duct diameter, condition, length, bends, connections, damper, and exterior termination. Existing ductwork can still restrict a new fan.
That condition should be corrected. Bathroom exhaust should discharge outdoors through an appropriate exterior termination rather than ending in the attic.
About 1 CFM per square foot of bathroom floor area is a useful starting point, with 50 CFM commonly treated as a minimum. Actual ventilation needs and delivered airflow depend on the bathroom, controls, duct system, and exterior termination. Selecting 110 CFM does not guarantee 110 CFM at the grille.
Know you can install it? Now choose the right WhisperFit and airflow setting →
Use the Start Here bathroom-fan replacement guide to review the broader project, read the hands-on Panasonic WhisperFit review before purchasing, or return to the BathExhaust homepage for independent bathroom-ventilation guidance.