What This Video Covers
- Planning the ceiling opening
- Installing the Flex-Z Fast Bracket
- Attaching the duct and electrical adapter
- Installing the fan housing from below
- Wiring the fan and light
- Setting the airflow
- Installing the finished grille and light
Planning
New to the components? Start with my WhisperFit unboxing to see how the pieces relate before you work overhead.
Identify joist direction, cavity depth, duct diameter and route, electrical controls, ceiling condition, and outside termination. Read the model-specific instructions before changing the opening.
Plan the Ceiling Opening Before You Cut
Use the Panasonic template, confirm the framing and bracket position, and protect the drywall needed to support the finished installation.
Gather the tools
Common jobs call for a non-contact voltage detector, drill/driver, drywall saw, tape, square, work light, eye protection, wire connectors, approved cable clamps, foil HVAC tape, and duct sealant. Your conditions may require more.
Remove the Old Fan
Turn off the circuit and verify it is dead.
Remove the Existing Bathroom Fan
See how the existing bathroom fan is removed before preparing the opening for the Panasonic WhisperFit.
Remove the grille, disconnect the motor assembly, document the wiring, release the duct, and detach the housing from framing. Protect the ceiling edge while working.
Fit the housing and bracket
Understand what the Flex-Z Fast Bracket supports and how the assemblies join →
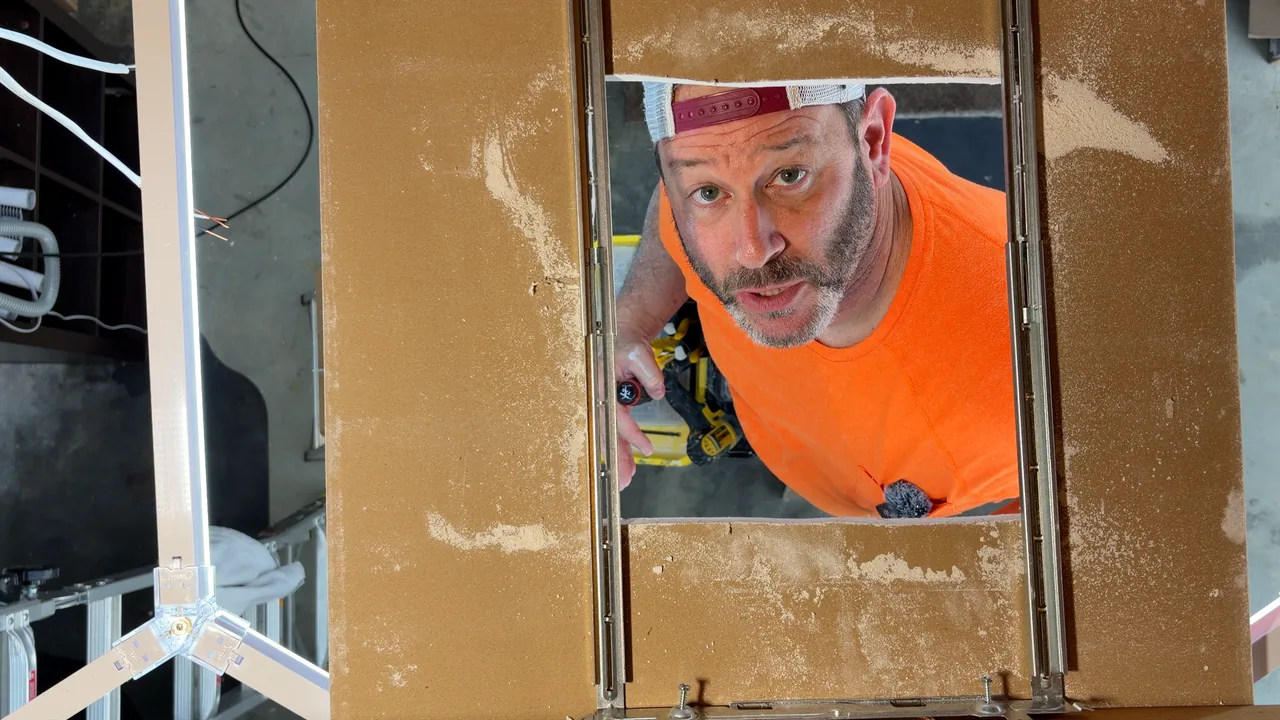
Prepare the Flex-Z Bracket
See how to prepare the Flex-Z Fast Bracket before placing it in the ceiling opening.
Align and Insert the Housing
Dry-fit first. Set the Flex-Z Fast bracket against solid framing, confirm the housing will sit flush with the finished ceiling, then fasten it according to the manufacturer’s specified locations.
Troubleshooting: Why It Will Not Click
Check the housing and bracket alignment when the fan will not seat correctly.
Lock and Secure the Housing
See how the housing is locked into position and secured after alignment.
Make electrical connections
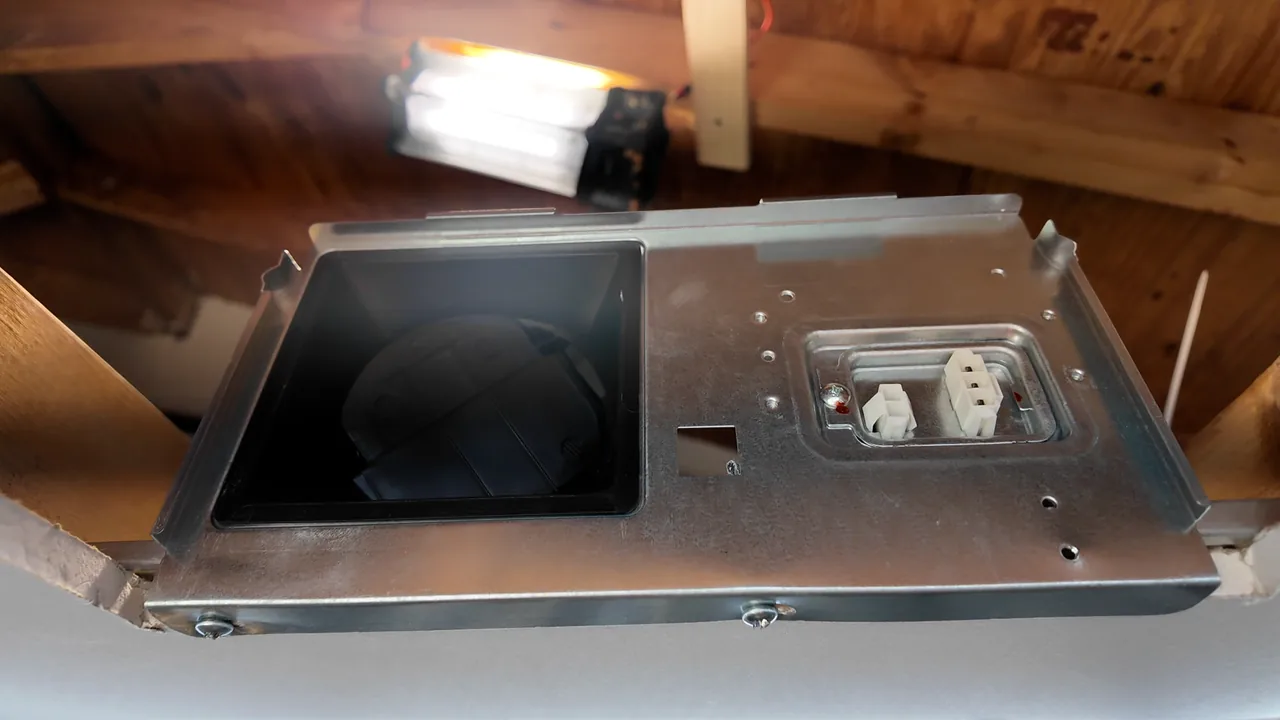
Wire the FV-0511VFL1 Fan and Light Circuits
See the three wiring jobs demonstrated for this installation: grounding, fan power, and light power.
This demonstration shows the wiring configuration used for this specific FV-0511VFL1 installation. Shut off and verify power, identify the conductors, and follow the wiring diagram supplied with your exact model and switching arrangement.
Route the correct cable through an approved clamp. Connect grounding, neutral, and switched conductors exactly as shown for your specific model and control scheme.
Build the duct path
Attach the 4-Inch Duct
Connect and secure the duct while keeping the damper and airflow path open.
Use smooth, full-size duct where practical. Keep runs short and direct, support flex duct without compression, use wide-radius turns, mechanically secure joints, and seal them with approved foil tape or mastic.
Read the complete bathroom exhaust ducting field guide →
Terminate outdoors
Exhaust to the exterior—not an attic, soffit cavity, or crawlspace. The hood should have a free-moving damper, adequate net free area, proper flashing, and a location that avoids pulling moist air back into the building.
Finish the Fan: Connections, Light, Grille, and Airflow Setting
Bond the Housing, Plug In the Fan, and Install the Light Grille
Install the required ground-bond screw, plug in the fan-motor connector, hook the grille springs, connect the light module, and push the grille into place.
Install the required ground-bond screw and connect the fan-motor plug. Hook the grille springs, make the light-module connection, and seat the grille flush with the finished ceiling.
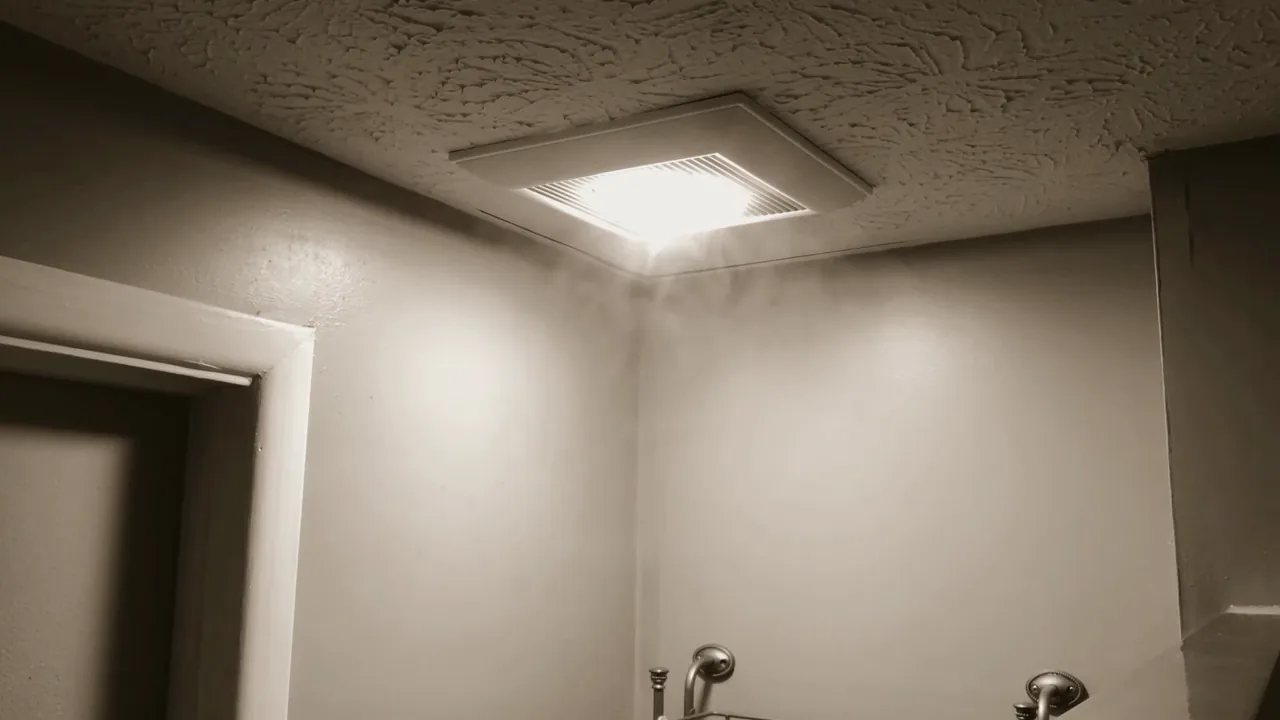
Choose the 50, 80, or 110 CFM Setting
Review the Pick-A-Flow selector and choose the setting appropriate for the bathroom and installation conditions.
Test the System
Restore power and verify fan operation, main-light operation, and nightlight operation when connected. Listen for unusual vibration or noise, confirm that the exterior damper opens, and check airflow at the grille. A tissue test is only a rough indicator; measured flow is better.
Common mistakes
Airflow killers
- Crushed or sagging flex duct
- Immediate size reduction
- Multiple sharp elbows
- Stuck exterior damper
Building failures
- Exhausting into an attic
- Unsealed ceiling opening
- Wrong conductor count
- No makeup-air path
Safety and code
Electrical, fire-separation, duct, and exterior-envelope rules vary. Manufacturer instructions and local requirements control. Stop and hire the appropriate licensed professional when wiring, structure, asbestos, roof work, or code compliance is uncertain.
Compare features before matching the installation plan to a model.
Real comments from the installation video
Real Viewers Are Using This Guide to Get the Install Done
The goal of this walkthrough is to make the Panasonic WhisperFit installation clearer than the manual alone. These are real comments from viewers who used the guide.
From YouTube
From YouTube
From YouTube
From YouTube
Comments shown exactly as posted on my Panasonic WhisperFit installation video, aside from minor formatting.
A clear installation path matters because buying the fan is only the first step. The rest of this page is built to help you work through the project one step at a time.