
Watch the Complete Whisper Mighty Installation
Panasonic Whisper Mighty Installation (RG-M79A): YOU GOT THIS!
What This Video Covers
- Unboxing and identifying the included parts
- Using the supplied ceiling template
- Planning and cutting the ceiling opening
- Working with the compact housing
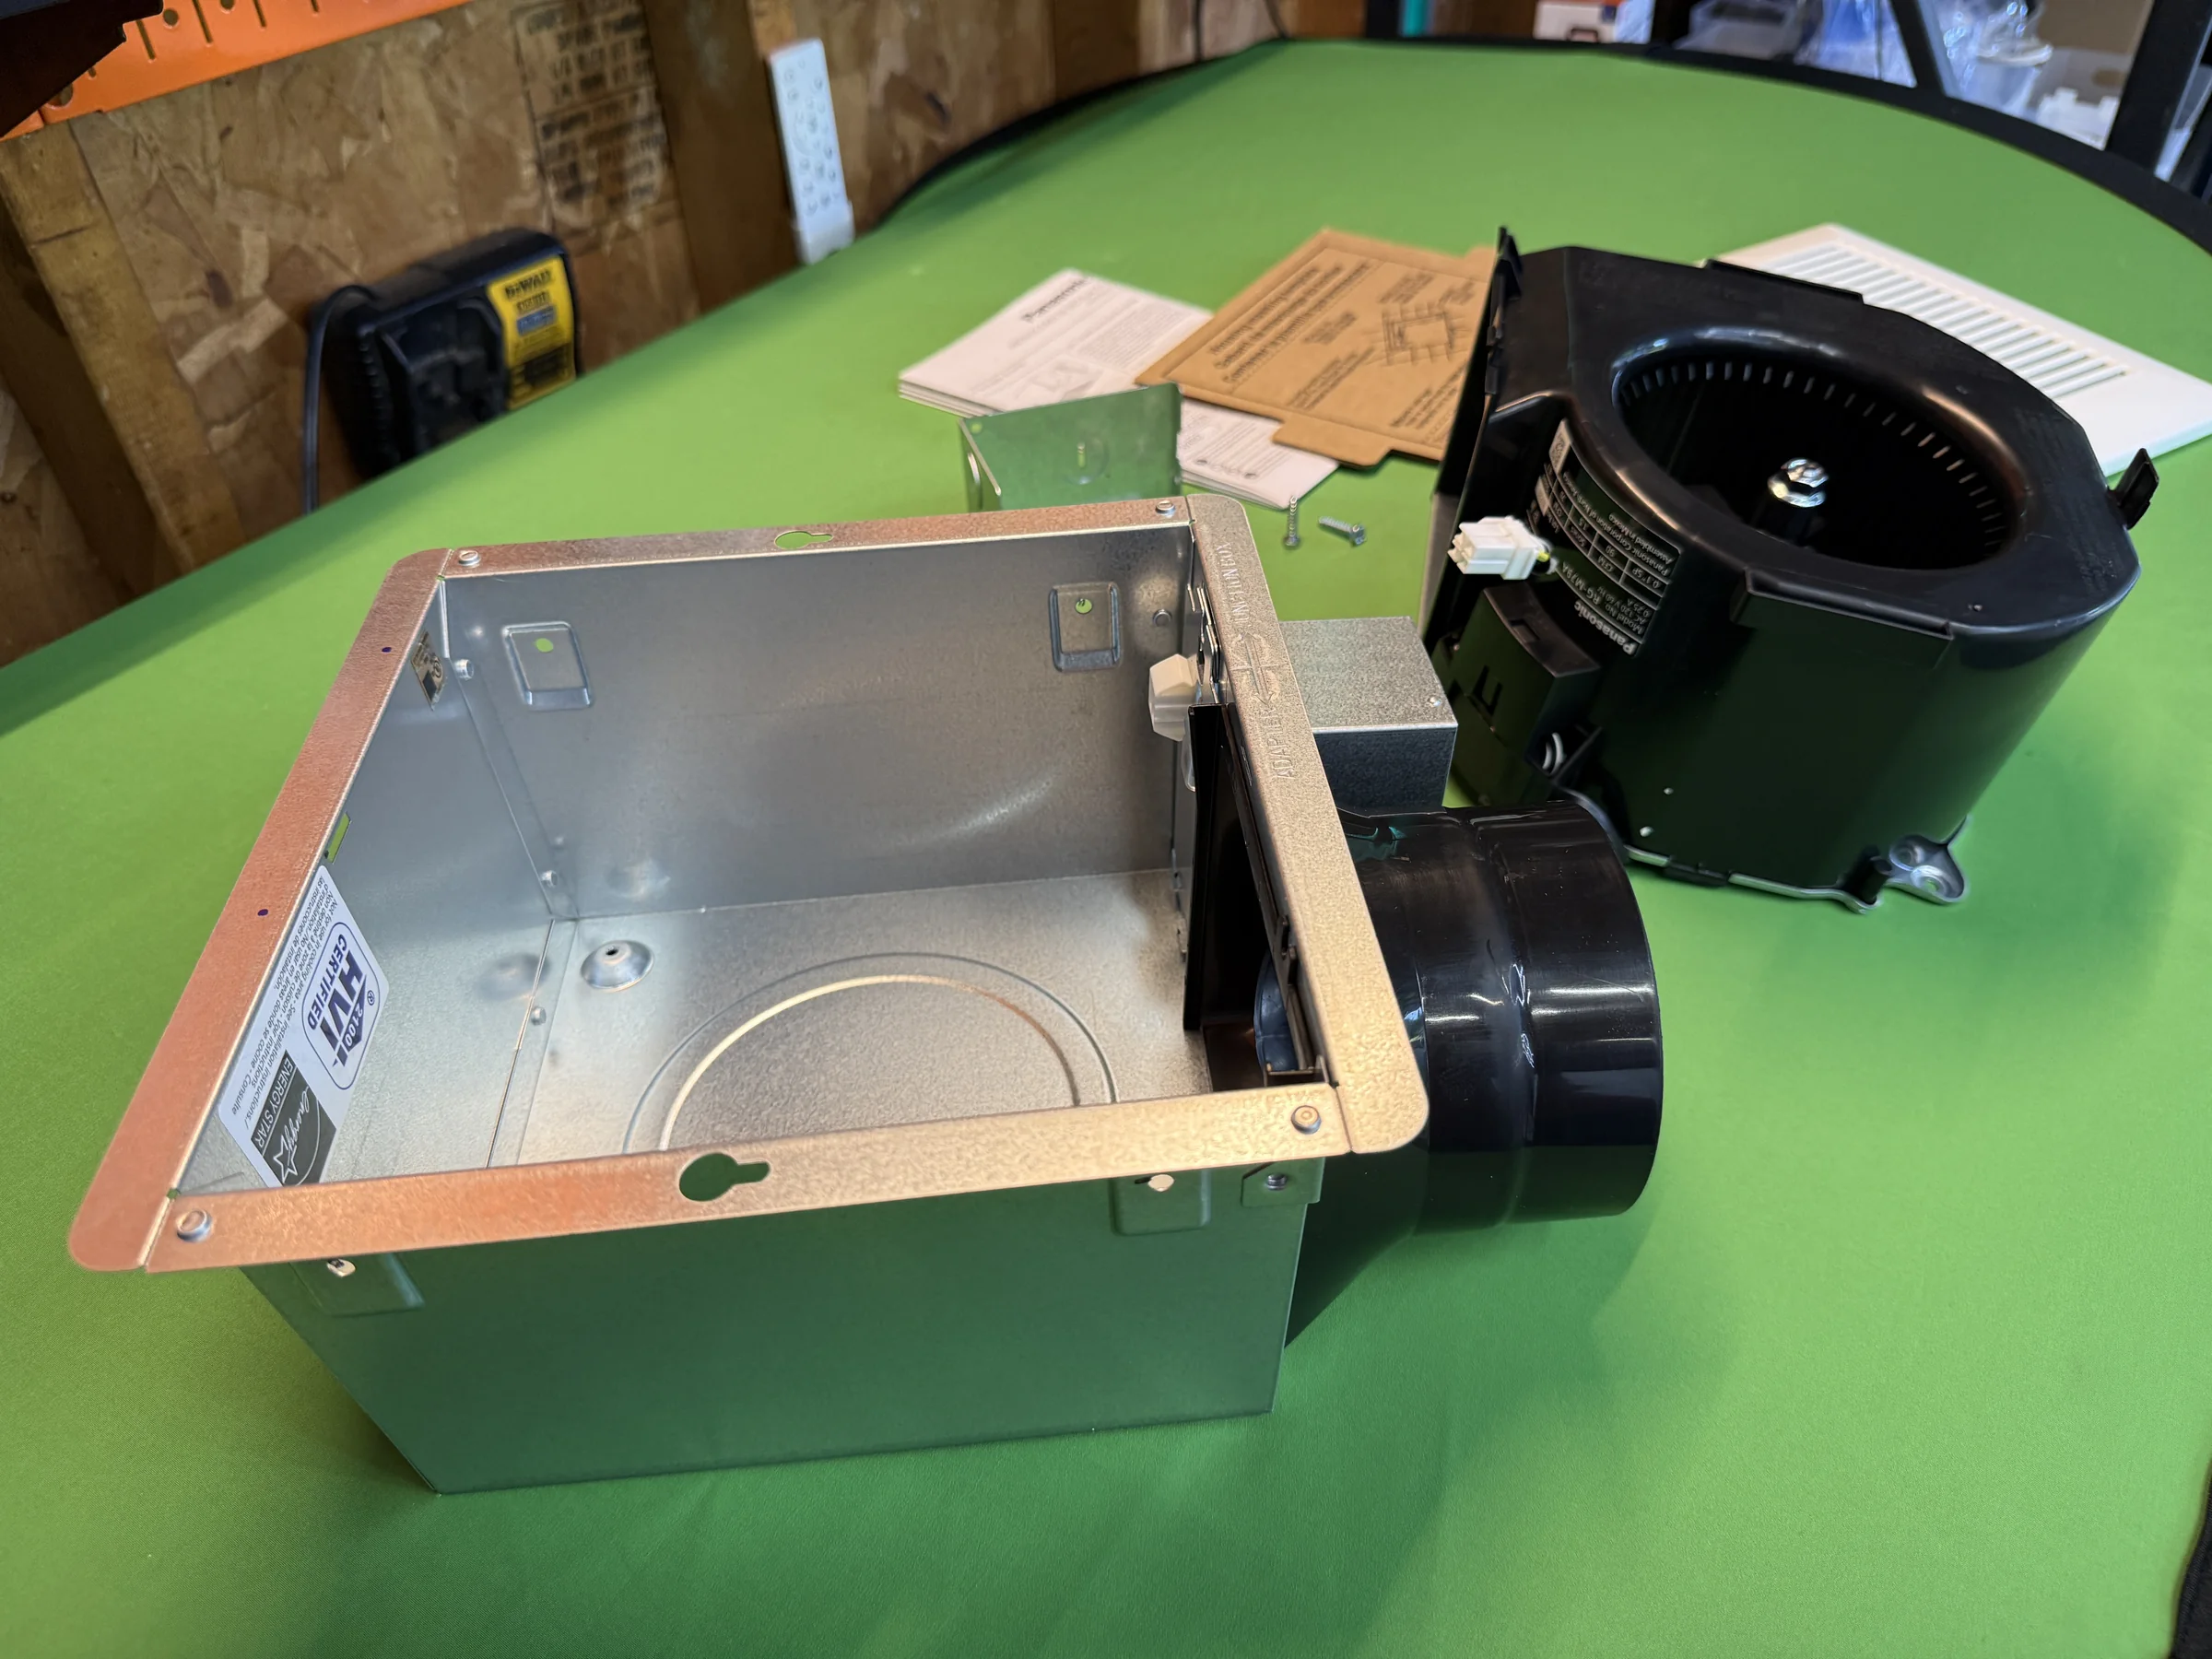
- Understanding the 3-inch / 4-inch duct adapter
- Wiring the fan
- Securing the housing
- Selecting 70 or 90 CFM
- Finishing the grille
- Common installation problems and workarounds
Who This Installation Is Best For
I see the Whisper Mighty as a practical candidate for a homeowner replacing a builder-grade fan, a smaller retrofit situation, or a buyer who wants a compact, fan-only Panasonic option and is comfortable with basic electrical and ceiling work.
What Makes It Different From WhisperFit
The Mighty uses a different housing and installation sequence. It does not use the WhisperFit Flex-Z Fast Bracket, it takes a more compact approach, it uses a different duct-adapter strategy, and it gives you 70 or 90 CFM settings. Those differences change the fit and the order of the work; they do not make either fan the universal answer.
Start With the Template
I use the template supplied with the fan to establish the ceiling opening and installation position before cutting. The opening has to work with the actual housing, nearby framing, the duct connection, and the existing conditions above the ceiling.
Before cutting: Locate framing and hidden obstructions, then confirm the opening against the instructions supplied with the exact RG-M79A.
The 3-Inch / 4-Inch Duct Adapter Is a Big Part of This Install
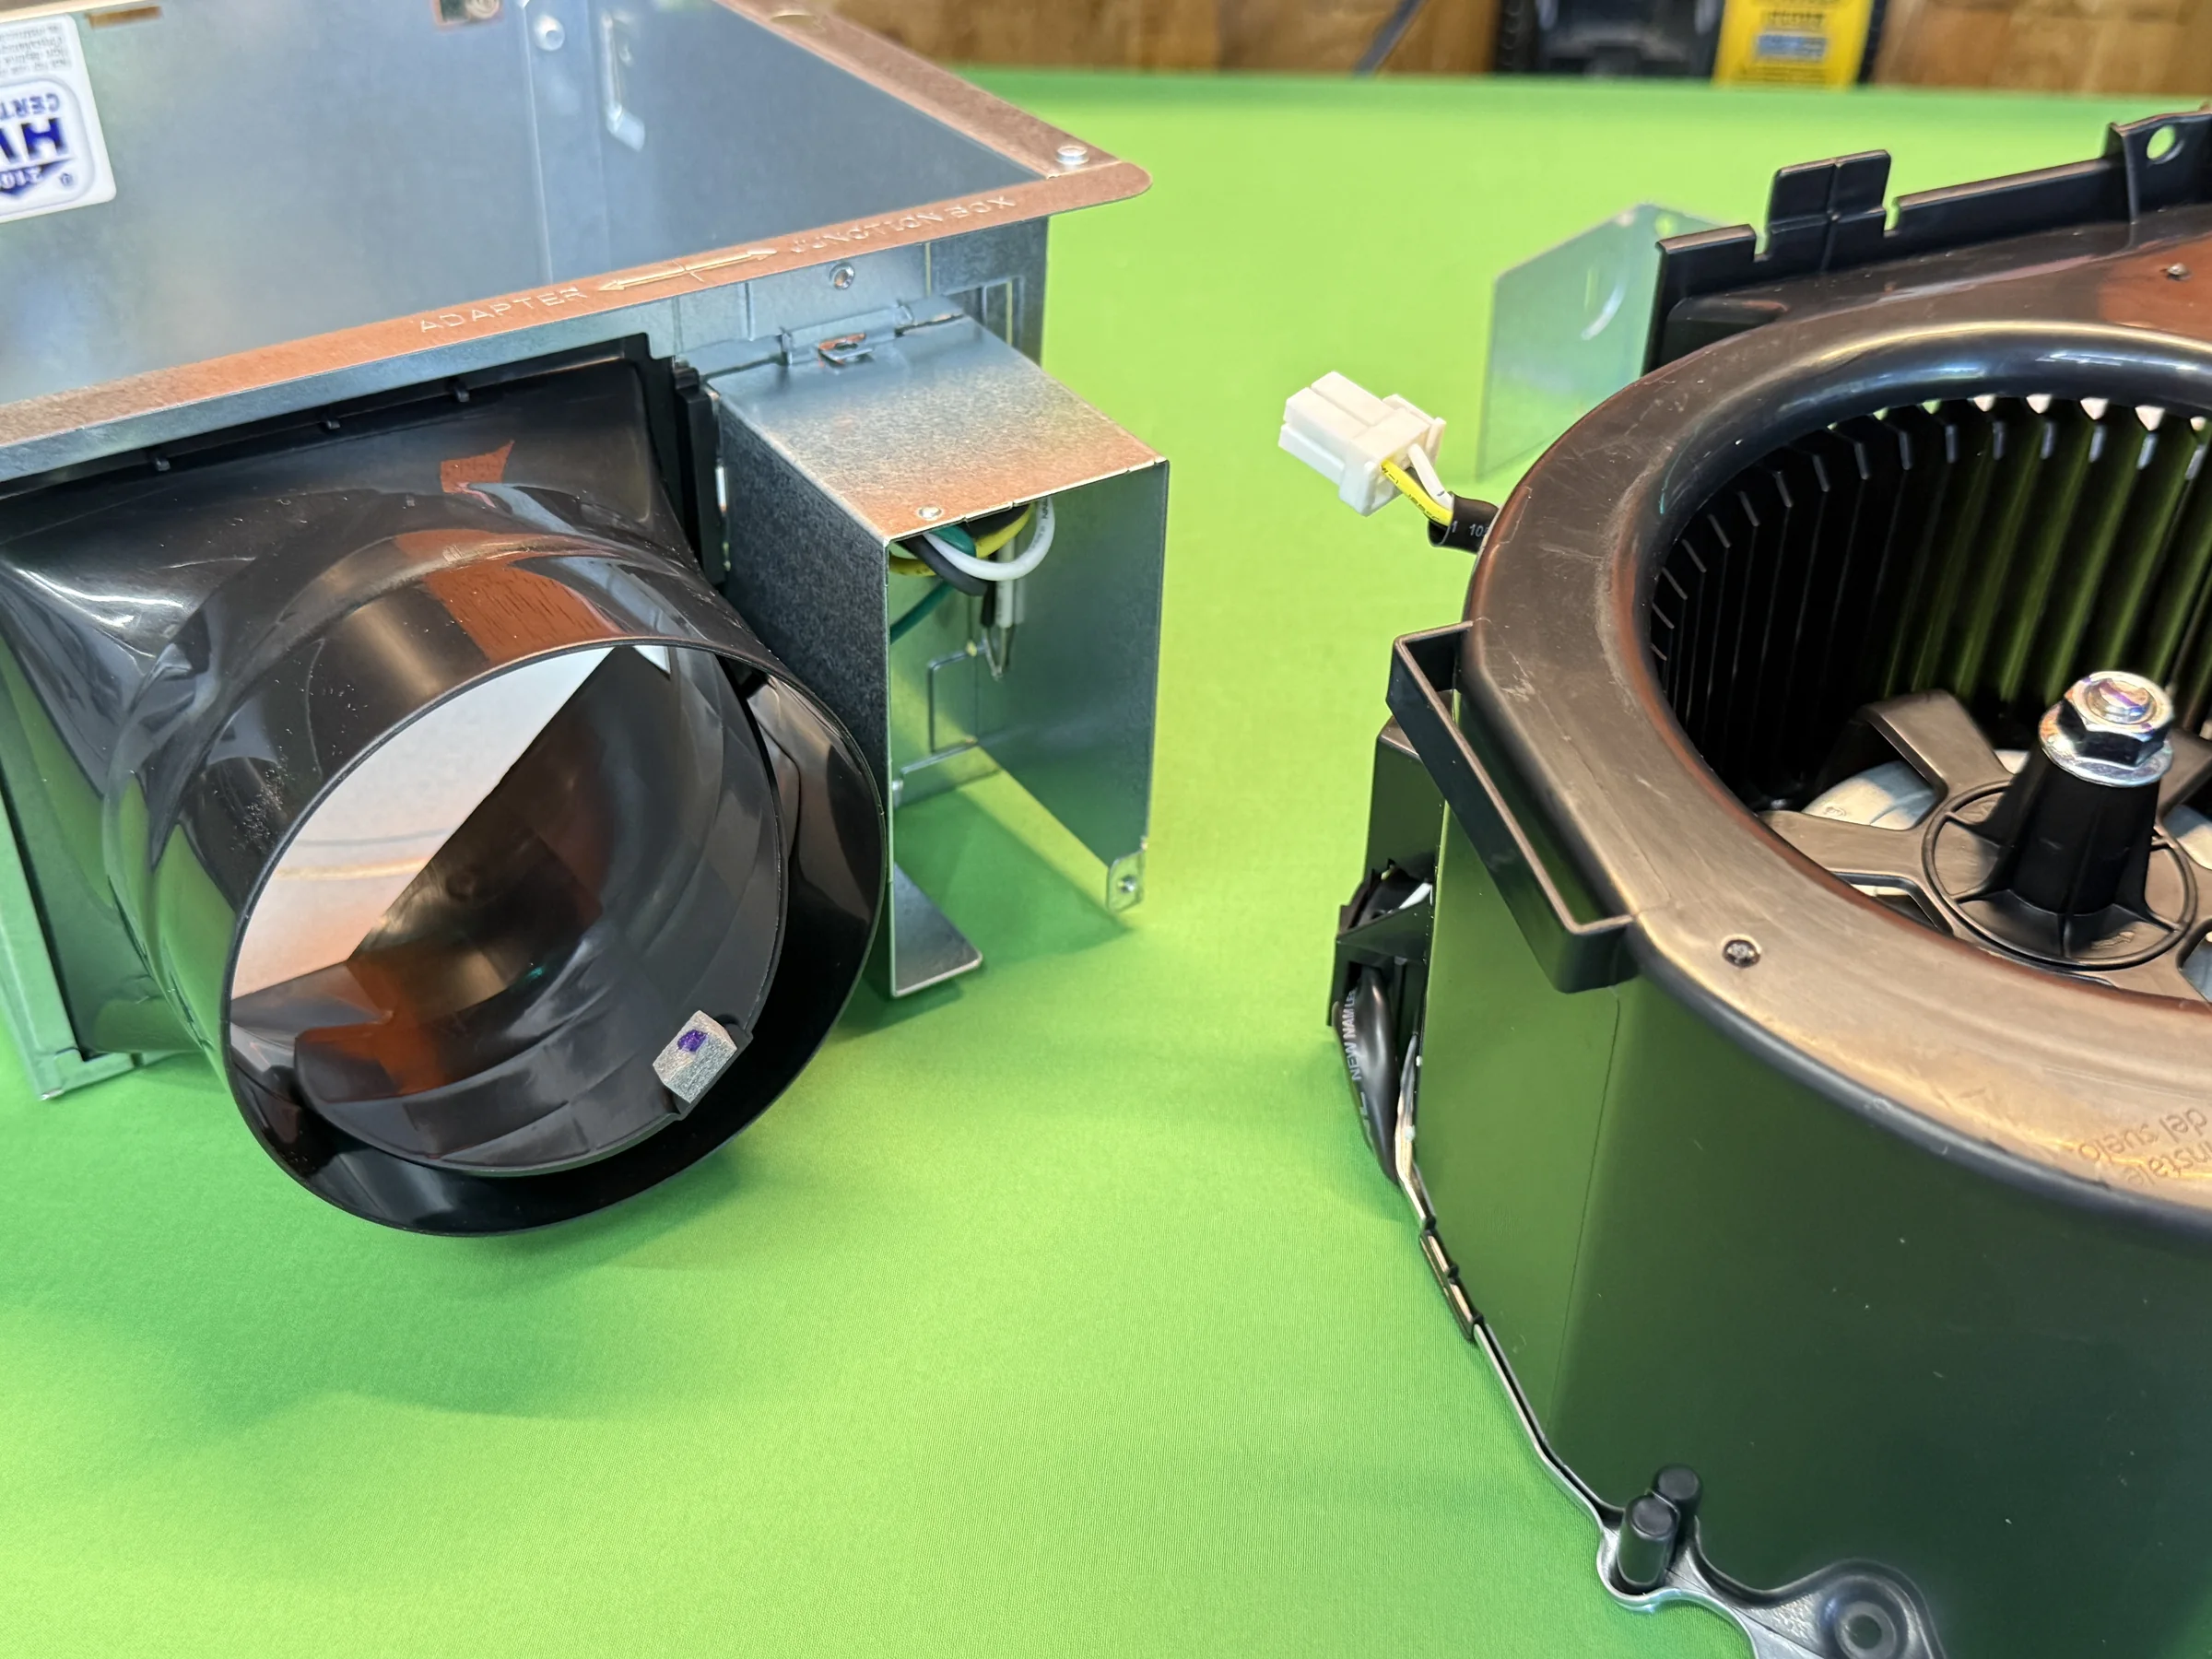
The included adapter gives this retrofit flexibility when I encounter different existing duct conditions. But the ability to connect to a smaller duct does not erase the airflow consequences of reducing the system. Duct size, route length, bends, compressed flex, and the exterior termination still determine how hard the fan has to work.
What If the Ceiling Is Thick?
In the thick-ceiling condition shown in this project, I create the needed clearance in the upper drywall layer. I do not change the adapter position; the housing and adapter remain installed as designed.
This is a project-specific approach, not a universal instruction for every layered ceiling assembly. Confirm the actual ceiling construction and the current installation manual before modifying the opening.
Wiring the Whisper Mighty
Turn off the breaker and verify power is off before beginning electrical work.
For the switching configuration in this installation, I install the connector first, connect the green fan wire to the grounding conductor, connect the white neutral conductors together, and connect the black switched-hot conductors together.
Follow the wiring diagram supplied with the exact fan and switching configuration. Existing wiring, controls, and local requirements can change the work.
Six Screws — Know Where They Go
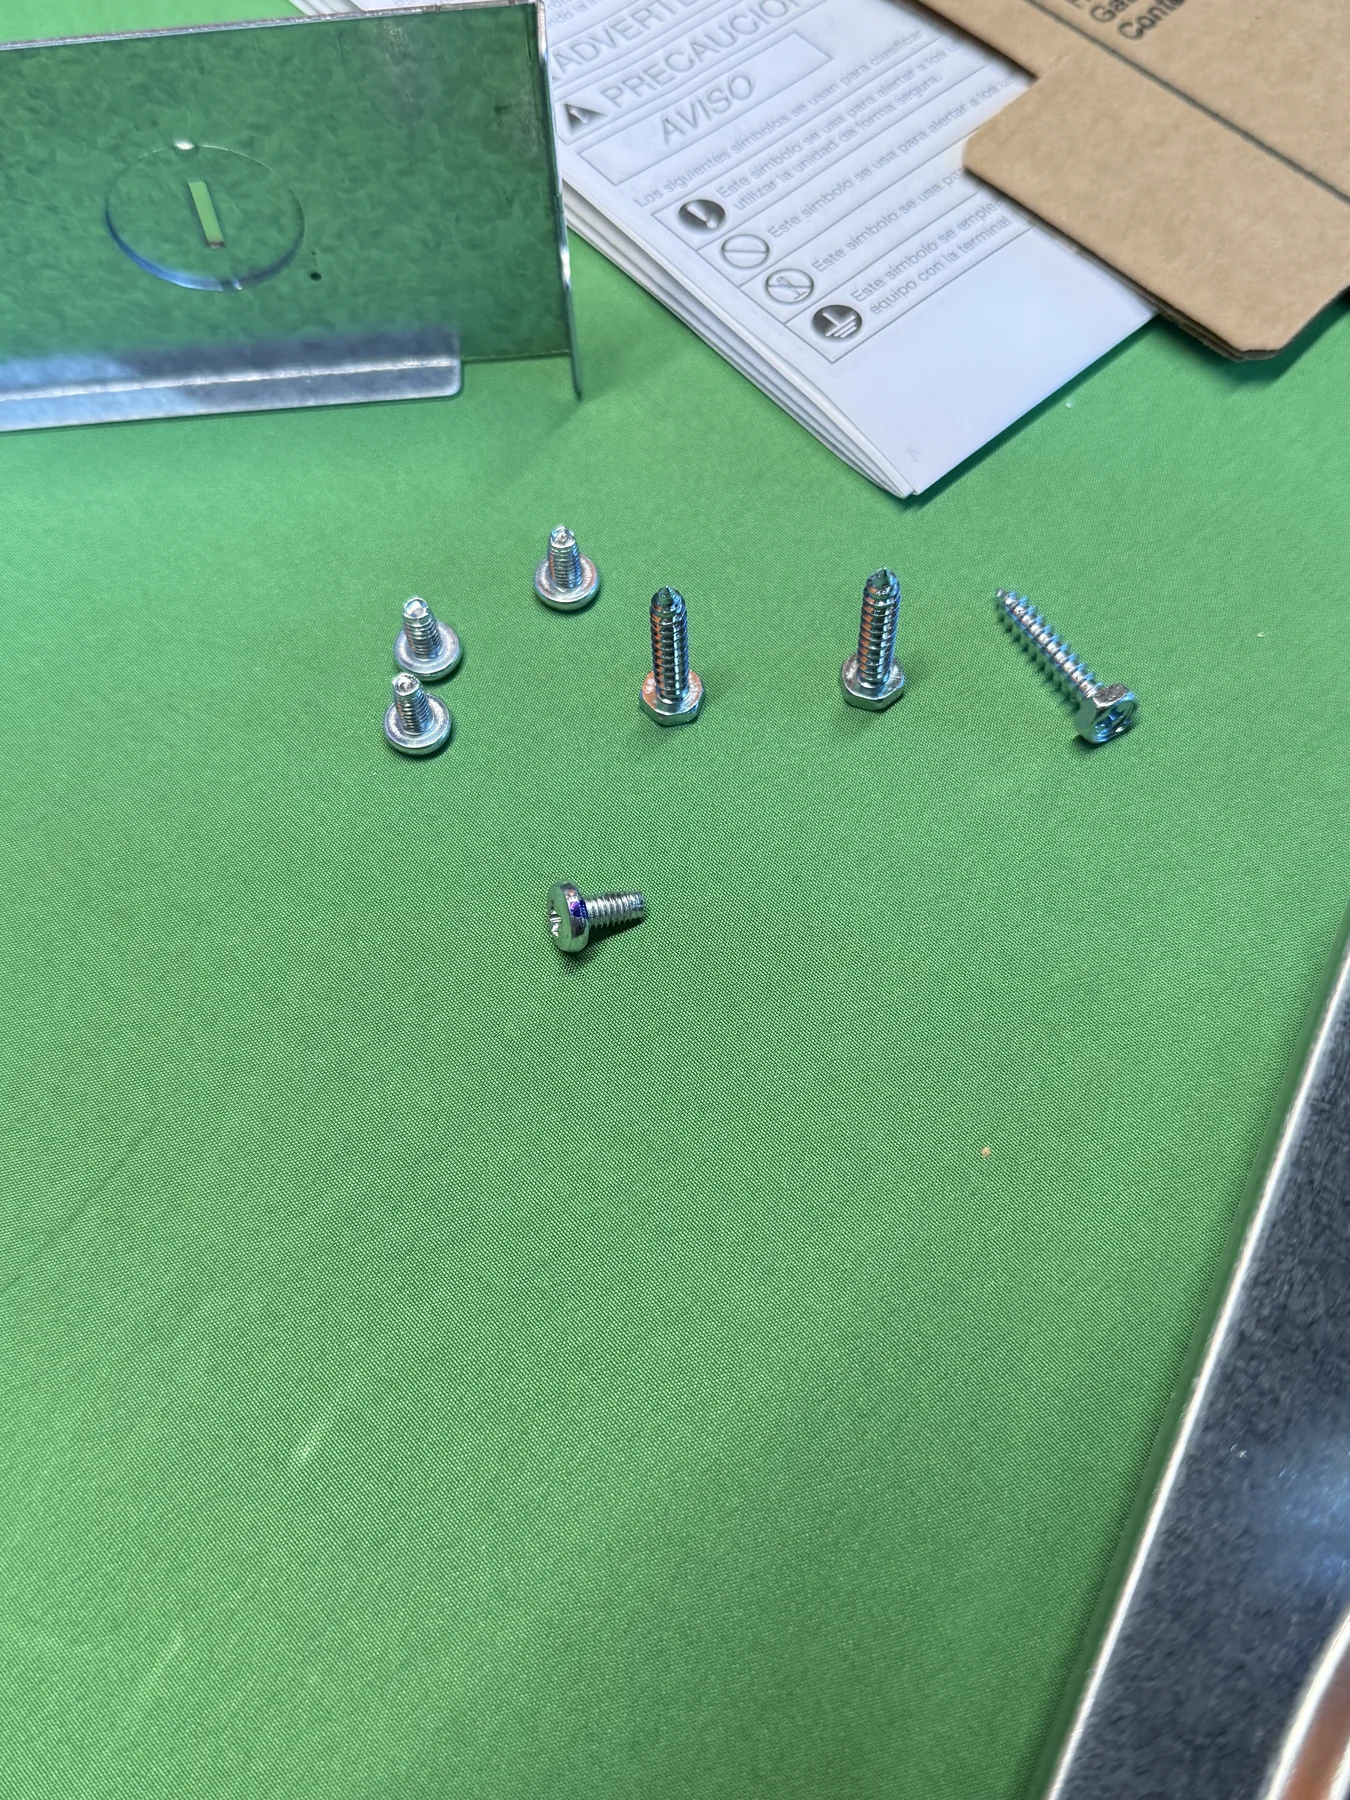
The supplied hardware includes four housing screws and two interchangeable screws used to secure the fan to the joist. I identify which locations they serve before the housing is overhead so I am not sorting hardware while trying to hold the fan in alignment.
70 or 90 CFM?
The selector lets me choose the 70 or 90 CFM setting shown in the installation. I treat that selection as the fan's starting point—not a promise of what the completed system will deliver at the grille.
The right choice depends on the room and the complete exhaust path. Use the ducting guide to understand why installed airflow can differ from the selector.
Where This Install Can Get Frustrating
- Layered or unusually thick ceiling material
- Transitioning to the existing duct
- Limited access above the opening
- Keeping track of screw placement
- Aligning the housing with the ceiling and framing
- Reaching and identifying the existing wiring
- Completing the sequence entirely from below
What This Means for You
The Whisper Mighty can be a very practical retrofit fan, but the existing ceiling, wiring, and duct system still determine how easy the replacement will be. If those conditions are uncertain, review who may need to handle each part of the installation before cutting the ceiling.
As an Amazon Associate I earn from qualifying purchases.
Whisper Mighty or WhisperFit?
Whisper Mighty
Compact, value-focused retrofit
- Different housing and installation system
- 70/90 CFM selector
- Different duct-adapter approach
- Useful when its smaller approach fits the project
WhisperFit
Room-side retrofit flexibility
- Flex-Z Fast Bracket
- Selectable 50/80/110 CFM
- Fan-only and fan/light variants
- Extensive review and installation coverage on BathExhaust
I would not pick a universal winner. I would match the installation system and feature set to the actual ceiling, duct, wiring, and bathroom.
Whisper Mighty Installation FAQ
Can the Whisper Mighty be installed from below?
Yes. The RG-M79A installation documented here was completed from below the ceiling. Existing framing, wiring, duct access, and ceiling construction still determine whether a particular retrofit is practical.
What size ceiling opening does the RG-M79A require?
Use the template and current installation instructions supplied with the exact fan. I have not published a cutout measurement here until it is verified against the current manual.
Does the Whisper Mighty use 3-inch or 4-inch duct?
The installation uses the included 3-inch / 4-inch duct-adapter arrangement. Confirm how the adapter is configured for your existing duct and remember that the rest of the exhaust path still affects airflow.
What is the 3-inch / 4-inch adapter for?
It provides connection flexibility for different retrofit duct conditions. It does not make a restrictive, damaged, or poorly terminated duct system perform like a good one.
Should I use 70 or 90 CFM?
Match the setting to the bathroom and the complete ventilation plan. The selected setting is not the same as measured airflow at the grille, so inspect the duct and verify performance after installation.
Is the Whisper Mighty easier to install than the WhisperFit?
Not universally. They use different housings, brackets, duct-adapter strategies, and installation sequences. The easier choice depends on the existing ceiling, framing, wiring, and duct connection.
What if my ceiling is thicker than standard drywall?
The layered ceiling in this project required clearance in the upper drywall layer while the housing and adapter stayed in their designed positions. Do not assume that approach applies to every ceiling assembly.
Do I need attic access?
This installation demonstrates room-side work, but hidden obstructions or an inaccessible duct, termination, or wiring condition may still require access from above or professional help.
Can I reuse my existing bathroom fan duct?
Only after checking its diameter, condition, routing, connections, and exterior termination. Start with the bathroom exhaust fan ducting guide.
When should I hire an electrician or contractor?
Get qualified help when wiring is uncertain, framing or plumbing conflicts with the housing, the duct does not reach a safe exterior termination, or you are not comfortable completing the work safely. See the replacement planning guide.
Keep Planning the Complete Installation
Use the Panasonic buying guide, compare the Mighty and WhisperFit installation approaches, assess the project with the bathroom-fan replacement guide, or troubleshoot an existing system with the symptom-first troubleshooting guide.